|
Over the last year there has been a surprising amount of development of the Bwtres Carreg-filltir area in Dyffryn Ogwen, in particular the boulders closest to the road have yielded over a dozen high quality grade 7s.
15 years ago Rob Lamey climbed Milestone Crack, a feisty little 7A on the roadside fence boulder, and prior to that in 2001 Jon Ratcliffe picked off a few lines such as Bye Bye (7A+) on another boulder just beyond the wall 100m to the east. These additions were dismissed at the time by a certain guidebook editor (me) and were not featured in subsequent guides. Fast forward to the spring of 2021 and Jon Ratcliffe started sniffing around this area again. What he found was quite astounding given the easy access.
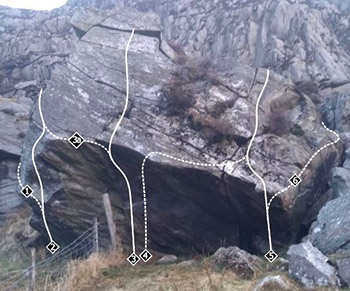
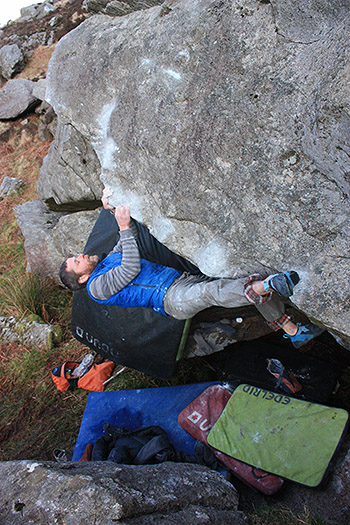
First off there is Clogfaen Ffens, easily spotted as it sits mere metres from the lay-by and has a fence running into it. Jon kicked things off here initially, then Si Panton (me) picked off a few juicy titbits, then recently Jack Pearce took the hard central line through the roof opinions vary on the difficulty of this and it might be 7C?
1. Tafliad Sydyn 7A
Start sitting at the base of the rib. Make a wild slap out left to a slopey rib, then pull over the top to a great sloper and exit leftwards onto the side slab. [Si Panton 28.04.21]
2. Park and Ride 7B
Start sitting as per Tafliad Sydyn but climb straight up with compression moves (either narrow or wide, depending on wing span) to a baffling crux just before the good holds arrive. Finish more easily up the high arête. [Jon Ratcliffe 04.04.21]
On the right side of the fence:
3. Defensive 7A+
Start sitting just right of the fence. Move up and break through the lip just right of the thin crack, gaining the obvious niche. Pad up the high slab to finish. [Jon Ratcliffe 11.04.21]
3a. 7B
At the lip swing leftwards into the top of Park and Ride. [Jon Ratcliffe 16.04.21]
4. The Last Dregs 7B+
Start sitting as per Defensive but swerve rightwards and gain the lip. Either finish direct-ish past a shrub, or (cleaner) head rightwards into the top of Milestone Crack. [Jack Pearce 02.22]
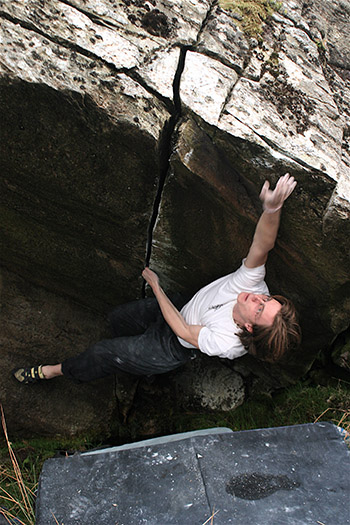
5. Milestone Crack 7A
Start sitting right hand on an obvious low hold right of the arête and left at the same height in the crack. Work up the crack and then slap for the boss. Finish up left on to high but easy ground. [Rob Lamey]
6. Ton Seithfed 7A
Follow Milestone Crack to the boss-slap but then trace the lip of the steepness up rightwards (a bit tight at one spot) then finish up onto the slab at the top. Hard for the grade. [Si Panton 04.06.21]
More recently, and just over to the left, Osian Parry did High Hopes (7A), which goes straight through the biggest part of the roof, to left of Milestone Roof.
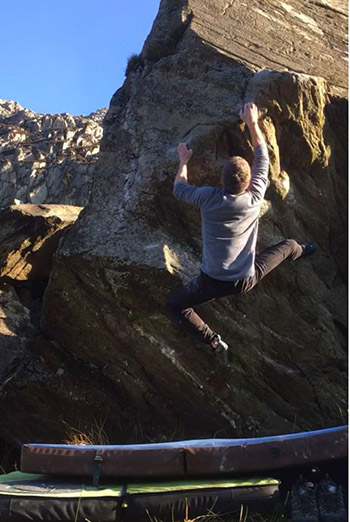
50m up and left from the main path, and about 25m left and slightly down from the Monkee See section, there is a prow, slightly hidden until you get close to it. This gives a superb problem which is destined to become a popular test piece.
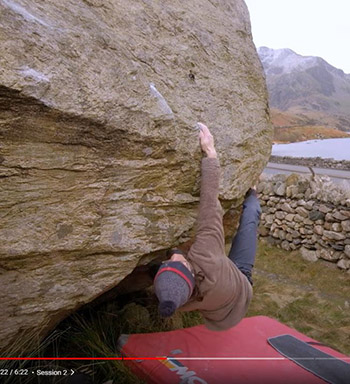
Distraction Therapy 7B
Tackle the prow all the way from a sitting start on the low flake. There is also a 7B direct (World Class finish), moving up on to the upper slab 1m right of the normal finish. A beautifully adequate crimp aids progress. [Jon Ratcliffe 24.03.21]
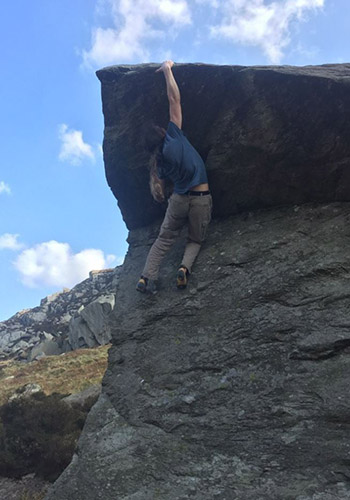
Up behind is an undercut blunt rib.
Lukes Rib 7A+
Tackle the rib straight on from the obvious low sitting start. [Luke Fletcher 02.06.21]
Over to the right Jacob Hadley climbed a worthwhile variation. Monkey See LH (7B!) scales the face via a pocket up the ramp. This is high and has a dynamic move to gain the lip.
Back down to the left, 25m down and left of Distraction Therapy there is a steep facet. The next two problems are a little constricted at the start but well worth doing.
Restricted (6C) Starts sitting, left hand on a crimpy pinch, right in a low pocket. Slap into the flake and head for the obvious jug. Top out left. Restricted RH (6C+) does the same start as above but then throws out right and finishes direct via lovely crimps. Slightly constricted but well worth doing. Both climbed by Jon Ratcliffe.
And finally on the obvious boulder close to the roadside wall there are a couple of old (2001) lines, again from Jon. The action takes place on the undercut side facing the road. Drive Bye (7A+) starts sitting, left hand on an undercut, right on a crimp, and moves directly up the centre of the face to a flake. Bye Bye (7A+) does the same start but traverses the lip leftwards, exiting on to the slab.
See page 307 in the NWB 3.1 guide.
Relevant links:
Distraction Therapy FA footage
The Last Dregs FA footage
Luke's Rib FA footage
|